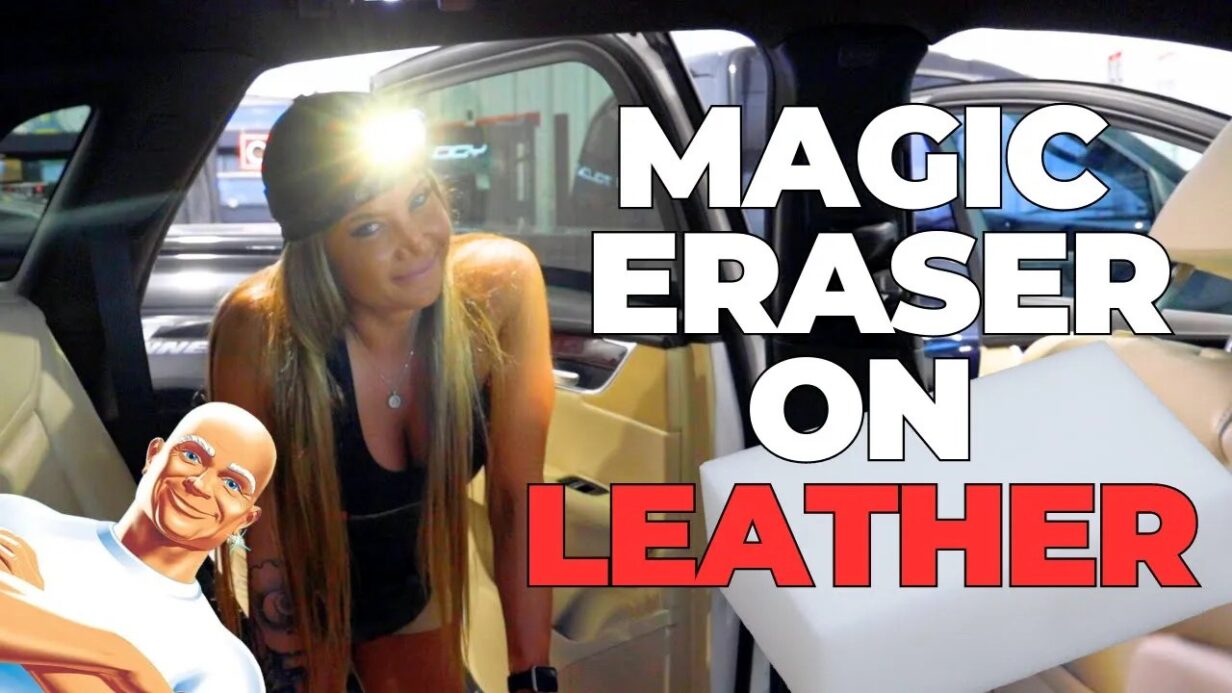
Can You Use a Magic Eraser on Leather Car Seats? A Pro Explains
Ask ten detailers whether you can use a magic eraser on leather car seats and you will probably start an argument. Some will tell you it is a guaranteed way to ruin your leather. Others quietly use them every single day. So what is the truth?
At Carsmotology, I have used magic erasers on leather for over a decade, and in that time I have never had a single client come back with an issue. What I have gotten is compliment after compliment on how clean the leather looks. The secret is not the eraser itself. It is how you use it. Done wrong, a magic eraser will absolutely damage leather. Done right, it is one of the most effective tools for lifting stubborn grime out of the grain. Whether you are in Boerne, San Antonio, New Braunfels, or anywhere in the Hill Country, the technique is the same.
Quick Answer: Can You Use a Magic Eraser on Leather Car Seats?
Yes, you can use a magic eraser on leather car seats, but only if you keep it constantly wet, soapy, and lubricated, and only if you work with a light touch. A magic eraser is a fine abrasive, so a dry or heavily pressed eraser will dull and damage the finish. Keep it saturated with soapy water, glide it gently over one small section at a time, and always test an inconspicuous spot first. Follow up by wiping the area clean and conditioning the leather. Treated with care, it lifts grime that normal cleaners leave behind without harming the surface.
Why Magic Erasers Get a Bad Reputation on Leather
A magic eraser is not a sponge. It is made of melamine foam, which acts like an extremely fine sandpaper at a microscopic level. That is exactly why it cuts through scuffs and grime so well, and also exactly why it scares people. Used dry or with heavy pressure, that fine abrasive will scuff the topcoat on your leather, leave dull spots, and over time wear through the protective finish.
So the people warning you off magic erasers are not wrong. They are just describing what happens when you use one incorrectly. The tool is not the problem. Aggressive, dry, heavy-handed use is the problem.
The One Thing That Makes It Safe: Lubrication
Here is the single most important rule, and it is the reason my leather comes out perfect every time. Keep the magic eraser soapy, wet, and lubricated at all times. Never let it run dry against the leather.
I think of it exactly like using a clay bar on paint. With a clay bar you never drag it across dry paint, because it will grab and scratch. You keep the surface slick and lubricated so it glides safely. A magic eraser on leather works on the same principle. A gallon bucket of water with a little bit of leather-safe soap keeps the foam saturated and slippery, so it lifts grime instead of grinding into the finish. The moment it starts to dry out, you rinse it and re-soap it. That lubrication is the difference between a flawless clean and a ruined seat.
How to Use a Magic Eraser on Leather: Step by Step
Step 1: Test an Inconspicuous Spot First
Before you touch a visible area, test a hidden section, like the back of a seat or an area near the seam. Confirm the leather reacts well and the finish is not lifting. This one habit will save you from an expensive mistake.
Step 2: Set Up Your Soapy Water
Fill a bucket with water and add a small amount of a gentle, leather-safe soap. This is your lubrication reservoir. Keep your magic erasers submerged and wrung out just enough that they stay wet and soapy, never dripping and never dry.
Step 3: Work One Small Section at a Time
Do not try to soak the whole seat at once. Work in sections. This keeps the product from drying out before you get to it, which wastes product and risks dragging a drying eraser across the leather. Small sections keep everything controlled and consistently lubricated.
Step 4: Go Light, Not Aggressive
This is where most people ruin their leather. Use a light, gentle touch. You are not scrubbing a kitchen counter. Let the soapy eraser and the fine foam do the work. Light passes lift the grime out of the grain. Heavy pressure just cuts into the finish. If it is not coming clean, re-soap and pass again gently rather than pressing harder.
Step 5: Get Into the Cracks and Seams
For the tight seams, stitching lines, and creases the eraser cannot reach, switch to a soft detailing brush. Work it gently so you pull grime out of the low spots without fraying the stitching.
Step 6: Clean the Perforations
Perforated leather has tiny holes that trap dirt and hold cleaning product. For those, I use pointed foam swabs, the little pointy detailing tips, to clear each perforation without pushing gunk down into the foam beneath. Never flood perforated leather with product, because whatever soaks through the holes has nowhere good to go.
Step 7: Dry It Properly
Once a section is clean, dry it. I use an air hose to blow the moisture out, especially out of the perforations and seams where water likes to sit. If you use compressed or forced air, keep your eyes protected or closed and cup your hand to direct the spray into the seat rather than back at your face. A clean microfiber towel works too if you do not have air. The goal is to remove the moisture so it does not sit in the leather.
Step 8: Condition the Leather
Cleaning, especially with any abrasive help, strips oils out of the leather. Always finish by applying a quality leather conditioner. This replenishes the surface, keeps it supple, and helps protect against cracking down the road. Cleaning without conditioning is only half the job. For the full care routine, this guide on proper leather care covers the right products and application steps.
When You Should Not Use a Magic Eraser on Leather
A magic eraser is a great tool in the right situation, but it is not for every seat. Skip it or proceed with extra caution when:
- The leather is raw, aniline, or unfinished. Without a protective topcoat, the abrasive foam can mar the surface much more easily. When in doubt about the finish, use a dedicated leather cleaner and brush instead.
- The finish is already worn or peeling. If the topcoat is failing, a magic eraser can accelerate it. That leather needs restoration, not abrasion.
- You cannot keep it lubricated. If you are not committed to keeping the eraser constantly soapy and wet, do not start. Dry use is where the damage happens.
- The stain is deep or set-in dye transfer. Some stains need a proper leather cleaning system, not surface abrasion.
The magic eraser shines on finished, factory-coated automotive leather with everyday grime, scuffs, and hand-oil buildup. That covers most modern vehicles, but always confirm with your test spot first.
Common Mistakes to Avoid
- Using it dry. This is the number one cause of damage. A dry eraser is fine sandpaper. Keep it soaked.
- Pressing too hard. Heavy pressure cuts the finish. Let the soapy foam do the work.
- Spraying or soaking the entire seat at once. Product dries before you reach it and wicks into places it should not.
- Skipping the test spot. Every leather is a little different. Always test first.
- Forgetting to condition. Clean leather that is not conditioned dries out and cracks over time.
- Reusing a dirty, grit-loaded eraser. Rinse it often. A clean eraser cleans. A dirty one just smears.
Professional Interior Detailing in Boerne and Beyond
Cleaning leather correctly takes the right products, the right technique, and a lot of patience. Done wrong, it can permanently damage an expensive interior. That is why deep interior cleaning and leather care are a core part of our detailing process at Carsmotology.
Serving Boerne, San Antonio, New Braunfels, and the surrounding Hill Country, we handle everything from full interior details to leather cleaning and conditioning, along with exterior services like paint correction and long-term ceramic coating protection. If your leather needs more than a quick wipe down, we are here to help.
Frequently Asked Questions
Will a magic eraser ruin leather car seats?
It can if used incorrectly. A magic eraser is a fine abrasive, so using it dry or with heavy pressure will scuff and dull the finish. Used wet, soapy, and with a light touch on finished automotive leather, it cleans safely. Always test an inconspicuous spot first and condition the leather afterward.
How do you safely clean leather seats with a magic eraser?
Keep the eraser constantly saturated with soapy water, work one small section at a time, and glide it gently without pressing hard. Use a soft brush for seams and pointed foam swabs for perforations. Dry the area with air or a clean towel, then apply a leather conditioner to restore the oils.
Why do detailers say not to use magic erasers on leather?
Because most people use them dry and press too hard, which damages the finish. The warning is really about incorrect use. When the eraser is kept wet, soapy, and used lightly, the abrasion is controlled and the leather stays safe.
Can you use a magic eraser on perforated leather seats?
Yes, but be careful not to push dirt or product down into the holes. Keep the eraser lightly soapy, avoid flooding the surface, and use pointed foam swabs to clean out the individual perforations. Dry the perforations thoroughly so no moisture sits inside.
Do you need to condition leather after using a magic eraser?
Yes. Any abrasive cleaning strips oils from the leather. Always finish with a quality leather conditioner to replenish the surface, keep it supple, and protect against cracking over time.
What kind of soap should you use with a magic eraser on leather?
A gentle, leather-safe soap or interior cleaner mixed into a bucket of water works well. The goal is a slippery, lubricated surface, not heavy suds. Keep the eraser wet and re-soap it the moment it starts to dry out.