How to Use a Clay Bar (And Avoid These Common Mistakes)
If your car still feels rough after a thorough wash, the problem is not dirt. It is bonded contamination that washing simply cannot remove. Rail dust, industrial fallout, brake dust, tree sap mist, and overspray physically embed into your clear coat, and no amount of soap and water will lift them out.
At Carsmotology, this is one of the most common issues I see on vehicles that owners think are clean. The fix is a clay bar, and while the process is simple, doing it correctly makes the difference between smooth, protected paint and a surface full of fresh micro scratches. Whether you are in Boerne, San Antonio, New Braunfels, or anywhere in the Hill Country, the technique is the same.
Quick Answer: How to Use a Clay Bar
To use a clay bar, wash and dry your car first, then spray a section with clay lube or a slick detailer. Glide the clay bar back and forth with light pressure until the surface feels slick and smooth. Fold the clay to expose a clean surface as it picks up contamination, then always follow up with a light polish, an isopropyl alcohol wipe, and a fresh layer of protection. Claying is a mild form of wet sanding, so polishing and protecting afterward is not optional if you want a flawless finish.
What a Clay Bar Actually Does
A clay bar is a soft, moldable resin that pulls bonded contaminants up and out of your clear coat. As you glide it across a lubricated surface, it grabs the embedded particles that stick above the paint and shears them away.
Here is the part most people do not realize: claying is a light form of wet sanding. It removes contamination, but it can also leave behind fine micro scratches, or marring, in the process. That is exactly why the after-care steps matter so much, and why I always recommend polishing afterward. Skipping that step leaves your paint smooth to the touch but visibly hazed under good lighting.
How to Know Your Car Needs a Clay Bar
The easiest test is the touch test. After washing and drying, run your fingertips gently across the paint. If it feels rough, gritty, or bumpy like fine sandpaper, your car is contaminated and needs to be clayed.
For an even clearer signal, place your hand inside a thin plastic sandwich bag and feel the paint through it. The bag amplifies the texture, making bonded contaminants impossible to miss. Smooth, glass-like paint means you can skip the clay. A rough surface means it is time.
Choosing the Right Clay: Fine, Medium, or Heavy
Not all clay is the same, and picking the right aggressiveness protects your paint. My rule is simple: always start with the least aggressive option that will get the job done.
- Fine or white clay bar: The gentlest option and my default starting point for most vehicles. It removes light to moderate contamination while minimizing marring.
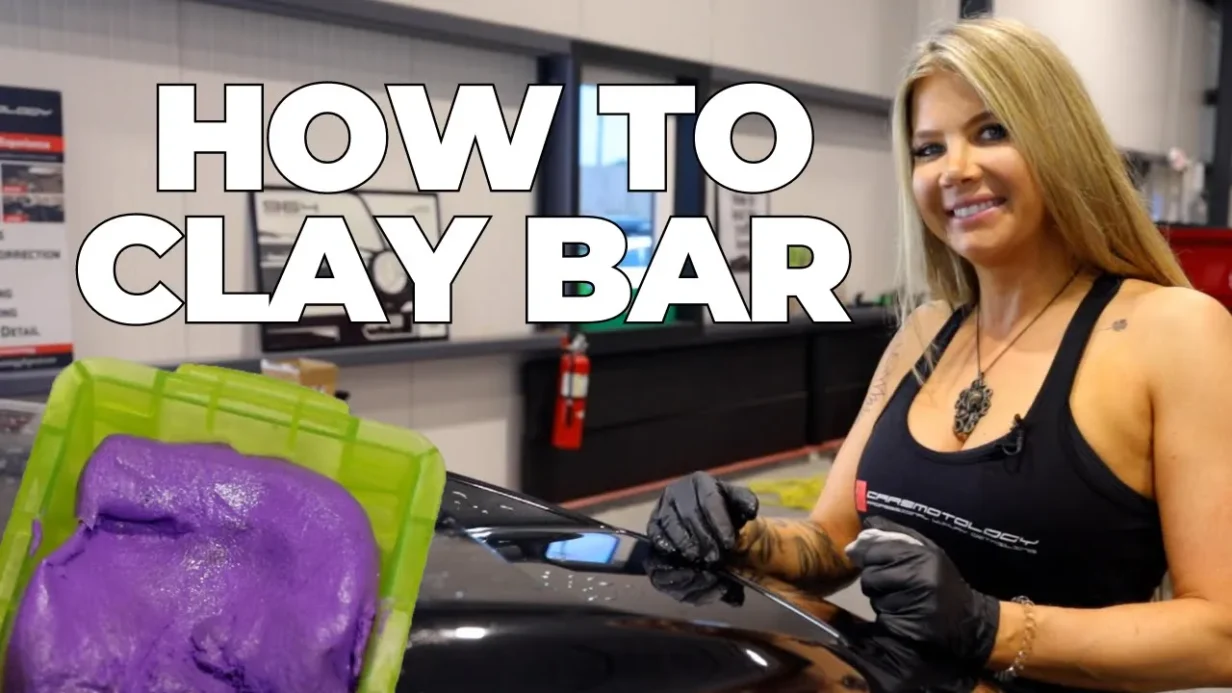
- Medium to heavy or purple clay bar: More aggressive, for heavily contaminated or neglected paint. It cuts faster, but it also leaves more marring behind, which means more polishing afterward.
- Clay buffing pads: These attach to a polisher and speed up the process on larger vehicles. Useful for efficiency, but still require lube and proper technique.
- Clay towels: A newer option I like because you can use them right in your decontamination wash step. They are convenient and reusable, and they fold into your existing wash process nicely.
The heavier the clay, the more polishing you will have to do afterward. When in doubt, go lighter first. You can always step up, but you cannot undo aggressive marring without correction work.
How to Use a Clay Bar: Step by Step
Step 1: Wash and Dry First
Never clay a dirty car. Loose dirt and grit dragged under the clay will scratch your paint badly. Complete a proper two-bucket wash and dry the vehicle before you begin.
Step 2: Prepare Your Clay Lube
You need a slick surface for the clay to glide safely. You can use a dedicated clay lube, a quick detailer, or even a simple mix of water and a rinseless or waterless wash in a spray bottle. The goal is a soapy, slick surface so the clay never grabs dry paint.
Step 3: Work One Section at a Time
Spray a small section generously with lube, then glide the clay bar back and forth with light pressure. Do not press hard. Let the clay do the work. Keep the surface lubricated the entire time.
Step 4: Feel for the Slick
This is the pro cue most guides miss. As you work, run your other hand across the section. At first you will feel resistance and roughness as the clay grabs contamination. As the surface cleans up, it turns noticeably slick and smooth. That slick feeling is how you know you have broken through the layer of contamination and that section is done.
Step 5: Fold and Inspect the Clay
As the clay picks up contamination, its surface gets dirty. Fold or knead it to expose a fresh, clean face regularly. If you ever drop a clay bar on the ground, throw it away. It is not worth grinding embedded grit into your paint to save a few dollars.
Step 6: Polish, Wipe, and Protect
Because claying leaves micro scratches, follow up with a light machine polish to remove the marring and restore clarity. Then wipe the paint down with isopropyl alcohol to strip any oils and reveal the true surface. Finally, apply your protection, whether that is a sealant, wax, or a ceramic coating. Bare, freshly clayed paint is unprotected and needs a fresh layer of defense.
The Step Most People Skip (And Why It Matters)
If you take one thing away from this guide, let it be this: claying is only half the job. Because it is a mild form of wet sanding, it always introduces some degree of marring. Under a good headlamp or strong lighting, you will see fine scratching in the paint.
That is why I never stop at claying. The complete professional process is clay, then polish, then an isopropyl alcohol wipe, then protection. Clay alone leaves your paint smooth but hazed and unprotected. The full sequence leaves it smooth, clear, and defended against the next round of contamination.
Common Clay Bar Mistakes to Avoid
- Claying without enough lube. This causes the clay to grab and drag, adding heavy scratching instead of removing contamination.
- Using clay that is too aggressive. Reaching for the heavy purple clay when a fine clay would do creates unnecessary marring.
- Pressing too hard. Let the clay glide. Pressure does not clean faster, it just scratches deeper.
- Skipping the polish and protection. This leaves your paint hazed and completely unprotected.
- Reusing a dropped clay bar. One piece of grit will scratch your entire panel.
Professional Paint Decontamination in Boerne and Beyond
Claying, polishing, and protecting a full vehicle correctly takes time, the right products, and proper technique. Done wrong, it can create more damage than it fixes. That is why paint decontamination is a core part of our professional detailing process at Carsmotology.
Serving Boerne, San Antonio, New Braunfels, and the surrounding Hill Country, we handle the full sequence from decontamination through paint correction and long-term ceramic coating protection. If your paint feels rough and you want it done right, we are here to help.
Frequently Asked Questions
Does using a clay bar scratch your paint?
Yes, lightly. Claying is a mild form of wet sanding and introduces fine micro scratches, or marring. This is normal and expected, which is why you should always follow up with a light polish to restore clarity.
How often should you clay bar a car?
For most vehicles, once or twice a year is plenty. The best indicator is the touch test. If your paint feels rough after washing, it is time to clay. If it feels smooth, you can wait.
Should you wash before claying?
Always. Clay the car only after a complete wash and dry. Claying over loose dirt or grit will grind those particles into your paint and cause serious scratching.
Do you have to polish after claying?
To get a flawless finish, yes. Claying leaves behind micro scratches that are visible in good lighting. A light polish removes that marring, and an isopropyl alcohol wipe followed by protection completes the job.
Can you reuse a clay bar if you drop it?
No. Once a clay bar hits the ground it picks up grit that will scratch your paint. Throw it away and use a fresh piece. It is not worth the risk to your finish.
What can you use for clay lube?
A dedicated clay lube works best, but a quick detailer or a slick mix of water and a rinseless or waterless wash in a spray bottle also works well. The surface just needs to be soapy and slick so the clay glides safely.