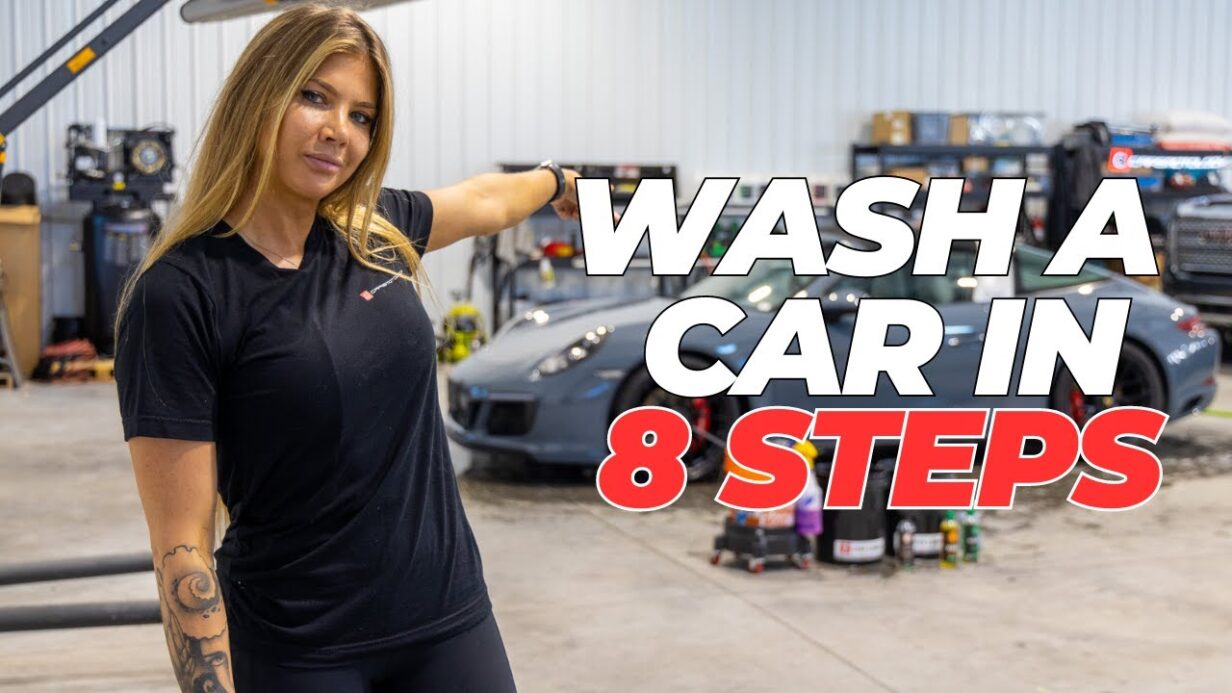
How to Wash a Car at Home in 8 Steps (The Right Way, From a Pro Detailer)
Washing your own car sounds simple, and it is, right up until the day you notice a haze of fine swirl marks across the paint that were not there before. Most of the scratches I fix in my shop did not come from the road. They came from a well meaning owner washing the car the wrong way at home.
I’m Jen, a professional detailer here in Boerne, Texas, and this is the exact eight step routine I use to wash a car safely. Follow it in order and you will pull dirt off the paint instead of grinding it in. I will walk through the gear, the order of operations, and the small habits that separate a safe wash from a swirl machine.
Watch: How to Wash a Car in 8 Steps
Quick answer: To wash a car properly at home, use a two bucket method with grit guards, one bucket for clean soapy water and one to rinse the dirt off your wash mitt. Clean the wheels first, do an initial rinse, foam or soap the car, then wash top to bottom with the mitt, rinse, dry with a soft towel, and finish with a spray sealant to catch water spots. Working in this order keeps grit off the paint so you do not add swirl marks.
Why the Order and the Gear Matter
A car wash is really a scratch prevention exercise. Every speck of dirt on your paint is a tiny piece of grit, and the moment you drag it across the surface with a sponge you carve a fine scratch. Do that over the whole car, week after week, and you get the swirl marks and spider webbing you see under the sun.
The routine below is built to keep that grit moving away from the paint instead of back onto it. That is the whole point of the two bucket method, the grit guards, and the top to bottom order. None of it is fussy once you have done it a couple of times, and it is the single biggest thing you can do to keep your paint looking new. If you want the deeper version of this, read our guide to the washing mistakes that scratch your paint.
What You Need Before You Start
Good tools make a safe wash easy. Here is the kit I reach for.
- Two wash buckets plus a third for wheels, each with a grit guard in the bottom. One bucket holds clean soapy water, the other is for rinsing dirt off your mitt, and the wheel bucket stays separate so brake dust never touches your paint tools. A two bucket wash kit gets you set up in one go, and a bucket dolly under each one saves your back by rolling them around the car.
- Grit guards. These sit at the bottom of each bucket and trap dirt below the grate. When you dunk your mitt, the grit stays down instead of getting picked back up.
- Car wash soap. A slightly acidic soap helps break down road contamination faster, and a pH neutral soap is gentle and safe for coated cars. A concentrated, coating-safe snow foam like IGL Ecoclean Blizzard that suds up well is ideal if you are using a foam cannon.
- A wash mitt, plus dedicated wheel tools. Soft wheel brushes like the Wheel Woolies brush kit get into the barrels and behind the calipers without scratching. Pair them with a safe, non acid wheel cleaner like P&S Brake Buster.
- A drying towel. A large, soft, absorbent drying towel like the Griot’s Garage PFM towel that you can drape over panels pulls water up without dragging.
- A pressure washer or garden hose. You need a pressure washer to run a foam cannon. A regular hose works fine too, you just skip the foam step.
- A spray sealant or waterless finish product for the final wipe down to lift any leftover water spots.
Step 1: Set Up Your Buckets and Soap
Fill your clean bucket with soap and water, fill your rinse bucket with plain water, and set up a third bucket for the wheels. Drop a grit guard into each one. This is your safe wash station for the whole job.
The two bucket idea is simple. You never dip a dirty mitt straight back into your clean soap. You rinse it in the second bucket first, then reload with clean soap. That one habit keeps grit off the paint more than any single product.
Step 2: Clean the Wheels First
Always start with the wheels. They hold the most collected dirt, brake dust, and road grime on the whole car, and you want that mess gone before you touch the paint. Use your dedicated wheel bucket and wheel tools, spray on a safe non acid wheel cleaner, work the barrels and faces, and get behind the calipers with a soft brush like a wheel woolie.
Doing wheels first also means any splatter lands on a car you have not washed yet, so it just gets cleaned in the next steps. Never use your paint mitt on the wheels.
Step 3: Do an Initial Rinse
Before any soap touches the paint, rinse the whole car down. The goal is to knock off as much loose dirt, dust, and debris as you can while it is still wet, so you are not about to rub it into the clear coat. A good pre rinse removes a surprising amount of the grit that would otherwise cause scratches.
Step 4: Foam or Soap the Car
If you have a foam cannon, coat the whole car in a coating-safe snow foam and let it dwell for a minute. The foam clings to the surface and softens dirt so it lets go more easily. Work from the top down and front to back, because the roof is the cleanest area and the lower panels and rear are the dirtiest.
No foam cannon? No problem. Loading your mitt with soap from the clean bucket and washing panel by panel works great too. The foam step is a helper, not a requirement.
Step 5: Wash With the Mitt, Top to Bottom
Now the actual wash. Load your mitt with clean soapy water and wash in straight lines, top to bottom and front to back. Do a section, then rinse the mitt in your rinse bucket, reload from the soap bucket, and move to the next section.
Watch the mitt as you go. The second you see dirt on it, rinse it before it touches paint again. This is the habit that protects your finish. Smearing a gritty mitt across a panel is exactly how swirl marks are born.
Step 6: Final Rinse
Rinse the whole car one more time from top to bottom so all the soap and loosened dirt runs down and off the car. A thorough rinse here means less to wipe up when you dry, and less chance of dragging leftover grit around.
Step 7: Dry the Car Safely
Drape a soft, absorbent drying towel over each panel and let it pull the water up, then gently guide it along. The one thing to watch is the bottom of the car. Do not drag your towel down low and then bring that same section back up onto clean paint, because it can pick up grit from the lower panels and scratch the finish. Keep your drying towel to the upper, cleaner areas and use a separate one for the very bottom.
Water left to air dry is where hard water spots come from. If you are already fighting spots, here is how to remove hard water spots from your car the right way.
Step 8: Finish With a Spray Sealant
The last step is a quick wipe down of the whole exterior with a spray sealant or waterless product. Go over the paint, glass, wheels, calipers, and door jambs. This catches any pesky water spots left behind, which matters most if you do not have softened water, and it leaves a clean, protected shine.
This final pass is also where a wax or sealant earns its keep. On a ceramic coated car it is even easier, because the coating already sheets water off. If you want to understand that difference, see how often you should wash a ceramic coated car.
Want the Paint Protected So Washing Is Easier?
A safe wash routine keeps your paint healthy, but the easiest paint to wash is protected paint. A quality ceramic coating makes water and dirt sheet right off, so your weekly wash takes less time and puts far less risk on the finish. It is the single best upgrade for anyone who cares about keeping their car looking new with less effort.
Serving Boerne, San Antonio, and New Braunfels
At Carsmotology in Boerne, Texas, we help drivers across the Hill Country and greater San Antonio keep their vehicles looking their best. Whether you want to lock in a professional ceramic coating so washing at home is easier, or you would rather hand the whole job to a pro with our exterior detailing service, we are here to help. Contact us to talk about the best plan for your car.
Frequently Asked Questions
What is the two bucket method for washing a car?
The two bucket method uses one bucket of clean soapy water and one bucket of plain water for rinsing. You wash a section, rinse the dirt off your mitt in the rinse bucket, then reload with clean soap before touching the paint again. It keeps grit off your car so you do not add scratches.
Do I really need grit guards?
They help a lot. A grit guard sits at the bottom of the bucket and traps dirt below the grate, so when you dip your mitt the grit stays down instead of getting picked back up and dragged across your paint.
Why should I wash the wheels first?
Wheels hold the most brake dust and road grime on the whole car. Cleaning them first gets that mess out of the way, keeps their dirt off your paint tools, and lets any splatter get rinsed off during the rest of the wash.
Do I need a foam cannon to wash my car properly?
No. A foam cannon helps soften dirt before you wash, but a wash mitt and soap from a clean bucket work great on their own. A foam cannon requires a pressure washer, while a wash mitt only needs a hose.
How do I avoid scratching my paint when I wash at home?
Use the two bucket method with grit guards, do a pre rinse to remove loose dirt, wash top to bottom, rinse your mitt often, and dry with a soft towel. Never rub a dirty mitt or a dropped towel across the paint. Working in order keeps grit away from the clear coat.